Brownies have long held a special place in the hearts of dessert lovers around the world. Their rich, fudgy texture and deep chocolate flavor create a timeless treat that appeals to people of all ages. While traditional brownies are undeniably delicious, there’s something particularly exciting about putting a twist on a classic recipe. Enter the decadent Oreo brownies—where the beloved chocolate brownie meets the iconic flavor of Oreo cookies. This combination elevates the classic dessert into a new realm of indulgence, making it a favorite among chocolate enthusiasts.
Oreo brownies are not just desserts; they are an experience. With every bite, you encounter the rich, gooey chocolate brownie base harmoniously blended with the crunchy, creamy goodness of Oreos. The result is a dessert that offers a delightful contrast in texture and flavor, satisfying both the chocolate cravings and the nostalgic fondness for cookies. Whether you’re preparing for a special occasion or simply treating yourself, these brownies are guaranteed to impress.
In this article, we’ll dive deep into the preparation of decadent Oreo brownies, detailing the essential ingredients and providing step-by-step instructions to create this delightful dessert. Get ready to indulge in a chocolate experience that is as simple to make as it is delicious.
Understanding the Ingredients
Before we embark on the baking journey, it’s essential to understand the ingredients that make these Oreo brownies so irresistibly good. Each component plays a critical role in achieving that perfect balance of flavor and texture.
Unsalted Butter
Using unsalted butter is a fundamental choice in baking, especially for brownies. The primary reason for opting for unsalted butter is to maintain control over the salt levels in your recipe. Salted butter can vary in sodium content, which might lead to an imbalance in flavor. Unsalted butter also allows the rich, creamy flavor of the butter to shine through without competing with the saltiness. This is particularly important in brownies, where the luxurious butter contributes to the fudgy texture we all crave.
Granulated Sugar
Granulated sugar is another key ingredient in our brownie recipe. It not only adds sweetness but also helps retain moisture within the brownies. Sugar plays a vital role in the structure, creating that delightful chewy texture while allowing the brownies to rise slightly during baking. The right amount of sugar ensures that your brownies are sweet but not overly so, making them a perfect treat for any chocolate lover.
Vanilla Extract
Vanilla extract is a staple in countless dessert recipes, and for good reason. It enhances the overall flavor profile of the brownies, adding warmth and complexity to each bite. The aromatic notes of vanilla perfectly complement the rich chocolate, creating a harmonious blend that elevates the dessert from good to outstanding. When choosing vanilla extract, opt for pure vanilla if possible, as it offers a richer flavor compared to imitation extracts.
Eggs
Eggs are a crucial binding agent in brownie recipes. They provide structure and stability, helping the brownies maintain their shape while baking. Additionally, eggs contribute to the moistness and tenderness of the brownies, which is essential for that desired fudgy texture. For this recipe, large eggs are typically used, and they should be at room temperature to ensure even mixing with the other ingredients.
All-Purpose Flour
All-purpose flour is the backbone of many baking recipes, and brownies are no exception. In this recipe, flour contributes to the overall texture and density of the brownies. It helps to create that perfect balance between chewy and cakey, resulting in a rich brownie that holds its shape without being too dense. When measuring flour, make sure to spoon it into the measuring cup and level it off with a knife to avoid overpacking, which can lead to dry brownies.
Cocoa Powder
Cocoa powder is the star ingredient in any chocolate brownie recipe. It provides the rich chocolate flavor that is synonymous with brownies. There are two types of cocoa powder: natural and Dutch-processed. Natural cocoa powder has a lighter color and a sharper flavor, while Dutch-processed cocoa powder is darker and has a milder taste. For Oreo brownies, natural cocoa powder works beautifully to create a deep chocolate flavor that pairs perfectly with the creaminess of the Oreos.
Salt and Baking Powder
While it may seem counterintuitive to add salt to a dessert, it actually enhances the overall flavor of the brownies. A pinch of salt balances the sweetness and helps to bring out the chocolate flavor, making every bite more satisfying. Baking powder is included in this recipe to aid in the rising process, ensuring that the brownies have the right lift while maintaining their fudgy texture. It’s important not to overdo it with baking powder, as too much can lead to a cakey brownie rather than the desired fudgy consistency.
Chocolate Chips (Optional)
For those who want to take their Oreo brownies to the next level, adding chocolate chips is a fantastic option. These little morsels of chocolate melt beautifully during baking, creating pockets of melted chocolate that add extra richness and texture. Semi-sweet or dark chocolate chips work well, but feel free to mix it up with milk chocolate or even white chocolate chips for a unique twist. While they are optional, they definitely enhance the decadent nature of the brownies.
Oreo Cookies
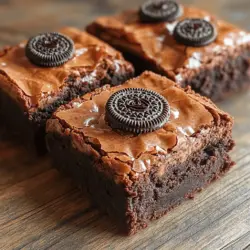
Last but certainly not least, we have the Oreo cookies themselves. These iconic cookies serve two purposes in our recipe: they add flavor and texture to the brownie batter, and they also create a stunning visual appeal as a topping. The combination of the crunchy chocolate cookie and the creamy filling perfectly complements the rich chocolate base, making every bite a delightful experience. Whether you choose to crush the Oreos and mix them into the batter or use them as a decorative topping, they are essential for achieving that signature Oreo brownie flavor.
Step-by-Step Instructions
Now that we’ve covered the essential ingredients, it’s time to dive into the step-by-step instructions for making decadent Oreo brownies. Baking is an art that requires precision, so let’s ensure we follow each step carefully to create the perfect batch.
Preheating the Oven
The first step in any baking recipe is to preheat your oven. This is a crucial part of the process, as it ensures that the brownies start baking at the right temperature. For this recipe, preheat your oven to 350°F (175°C). Make sure to give your oven enough time to reach the desired temperature before placing the brownies inside. A properly preheated oven helps create that ideal texture, allowing the brownies to rise evenly without becoming dry.
Mixing Wet Ingredients
While the oven is preheating, we can start preparing our brownie batter. Begin by melting the unsalted butter in a medium saucepan over low heat. Once melted, remove it from the heat and allow it to cool slightly. In a large mixing bowl, combine the melted butter with the granulated sugar. Using a whisk or a wooden spoon, mix the two together until well combined and smooth. This step is essential for incorporating air into the mixture, which helps achieve a lighter brownie texture.
Next, add the eggs to the bowl, one at a time, mixing well after each addition. It’s important to incorporate the eggs fully into the batter to ensure that they bind the ingredients together effectively. Following this, add the vanilla extract and mix until everything is well combined. The batter should now have a glossy appearance, signaling that the wet ingredients are perfectly mixed.
Combining Dry Ingredients
Now it’s time to tackle the dry ingredients. In a separate bowl, sift together the all-purpose flour, cocoa powder, baking powder, and salt. Sifting is a crucial step, as it removes any lumps and ensures a uniform distribution of ingredients. This will help create a consistent texture in your brownies.
Once sifted, gradually add the dry mixture to the wet ingredients. It’s important to do this carefully to avoid overmixing, which can lead to tough brownies. Using a spatula or a wooden spoon, gently fold the dry ingredients into the wet mixture until just combined. You want to see a few streaks of flour remaining; this indicates that you’ve mixed enough without overworking the batter.
Merging Wet and Dry Mixtures
The final step in preparing the brownie batter is to fold in the crushed Oreo cookies. If you prefer a more pronounced Oreo flavor, you can crush them into smaller pieces, but leaving some larger chunks will add delightful pockets of cookie goodness throughout the brownies. Gently fold the Oreos into the batter, ensuring they are evenly distributed without overmixing.
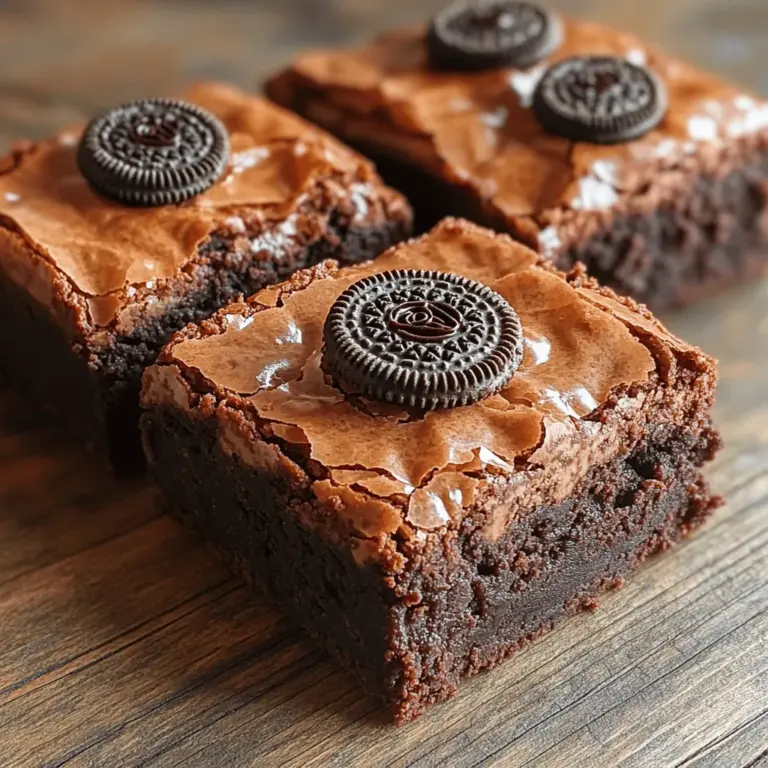
Once everything is combined, pour the brownie batter into a greased and lined baking pan. Spread it evenly with a spatula, and for an added touch, you can place whole Oreo cookies on top of the batter for a decorative finish. This not only enhances the visual appeal but also adds an extra layer of flavor.
With the batter in the pan, you are ready to bake your decadent Oreo brownies. Make sure to keep an eye on them as they bake, following the recommended time to achieve that perfect fudgy texture.
Stay tuned for the next part of this article, where we’ll cover baking tips, serving suggestions, and answers to common questions about these irresistible Oreo brownies.
{{image_2}}
Incorporating Chocolates and Oreos
When it comes to achieving the perfect Oreo brownie, the distribution of chocolate and Oreos within the batter is crucial. To ensure that every bite is a delightful mix of rich chocolate and crunchy cookie, follow these tips for even distribution:
1. Chop the Oreos: Instead of throwing whole Oreos into the batter, chop them into quarters or smaller pieces. This allows the cookies to incorporate seamlessly into the brownie mix, ensuring that their flavor infuses the entire batch.
2. Fold, Don’t Stir: Once you’ve added the chopped Oreos and chocolate chips to your brownie batter, gently fold them in using a spatula. This method preserves the integrity of the Oreos, preventing them from disintegrating completely and ensuring that you maintain their distinct texture.
3. Layering Option: For a more dramatic effect, consider layering some of the chopped Oreos and chocolate chips at the bottom of the baking pan before pouring in half of the brownie batter. Add another layer of Oreos and chocolate chips, then top with the remaining batter. This creates a delightful surprise in the middle of the brownies.
Baking Process
Baking brownies is an art that requires careful attention to time and temperature. Here’s how to monitor the baking process to ensure perfectly fudgy brownies every time:
1. Preheating the Oven: Always preheat your oven to 350°F (175°C) before placing your brownies inside. This ensures that the brownies bake evenly from the moment they go in.
2. Baking Time: Generally, Oreo brownies will take about 25 to 30 minutes to bake. However, oven temperatures can vary, so it’s essential to keep an eye on them. Start checking for doneness around the 25-minute mark.
3. Signs of Doneness: To check if your brownies are done, insert a toothpick into the center. If it comes out with a few moist crumbs (not wet batter), they are ready. If it comes out clean, they may be overbaked. Remember, brownies continue cooking slightly after being removed from the oven, so it’s better to err on the side of underbaking.
Cooling and Serving
Cooling your brownies properly is just as important as baking them. Here’s why it matters and how to serve them perfectly:
1. Importance of Cooling: Allow your brownies to cool in the pan for about 10-15 minutes before transferring them to a wire rack. This cooling period lets the structure set, making them easier to cut and enhancing their fudgy texture. If you cut them too soon, they may crumble or fall apart.
2. Serving Suggestions: Once cooled, cut your brownies into squares or rectangles. For a delightful presentation, serve them warm with a scoop of vanilla ice cream on the side. The contrast between the warm brownie and cold ice cream creates a delectable experience.
3. Garnishing: Enhance the visual appeal and flavor of your brownies by drizzling them with chocolate sauce or caramel. You can also top them with whipped cream or fresh berries for a refreshing contrast to the rich chocolate.
The Art of Brownie Baking
While brownies are generally straightforward to make, there are common pitfalls to avoid that can lead to less-than-perfect results.
1. Overmixing the Batter: Mixing the batter too much can incorporate too much air and result in cake-like brownies rather than the desired fudgy texture. Mix just until the ingredients are combined.
2. Using the Wrong Flour: The type of flour you use can significantly impact the texture of your brownies. All-purpose flour is typically the best choice, but if you prefer a gluten-free version, consider almond flour or a gluten-free all-purpose blend.
3. Cooling Time: Allowing the brownies to cool completely before cutting helps improve their flavor and texture. As they cool, the chocolate flavors intensify, and the brownies firm up for easier slicing.
Serving Suggestions and Pairings
Elevate your Oreo brownies with these serving suggestions and pairings:
1. A La Mode: Serve warm brownie squares with a scoop of ice cream for a classic a la mode experience. Vanilla, mint chocolate chip, or cookies and cream ice cream pairs wonderfully with the rich chocolate of the brownies.
2. Decadent Drizzles: Drizzle melted chocolate or caramel sauce over the brownies for an extra layer of indulgence. This not only enhances the visual appeal but also adds a velvety texture.
3. Fresh Toppings: Consider adding whipped cream on top of each brownie for a light and creamy contrast. Fresh berries, such as strawberries or raspberries, can provide a refreshing burst of flavor that balances the sweetness.
Variations on the Classic Recipe
Why not experiment with different flavors and textures? Here are some variations on the classic Oreo brownie recipe:
1. Different Types of Cookies: Substitute Oreos with other cookie varieties to customize your brownies. For example, peanut butter Oreos or mint Oreos can change the flavor profile and bring a fun twist to the classic recipe.
2. Incorporating Nuts: For those who enjoy a crunch, adding chopped nuts like walnuts or pecans can provide a delightful contrast to the soft brownie texture. Mix them in with the Oreos for an added crunch.
3. Gluten-Free Options: If you or someone you’re baking for has dietary restrictions, there are great alternatives. Use a gluten-free flour blend or almond flour to create gluten-free Oreo brownies that are just as delicious.
Storing and Freezing Tips
To maintain the deliciousness of your Oreo brownies, proper storage is key:
1. Storing Brownies: Keep your brownies in an airtight container at room temperature for up to a week. If you want to keep them fresher longer, you can refrigerate them, but this may alter their texture slightly.
2. Freezing Brownies: For longer shelf life, you can freeze brownies. Wrap them tightly in plastic wrap and then place them in a freezer-safe bag. They can last for up to three months in the freezer. When you’re ready to enjoy them, simply thaw at room temperature or warm them in the microwave for a few seconds.
Conclusion
Making decadent Oreo brownies at home is not only a delightful culinary adventure but also a rewarding experience. The joy of biting into a fudgy brownie packed with chunks of Oreo is hard to match. Don’t hesitate to personalize this recipe with your favorite mix-ins or toppings, and enjoy the satisfaction of creating a dessert that will impress family and friends alike. Whether serving them at a gathering or indulging in a quiet night in, these brownies are sure to please any chocolate lover. So grab your ingredients, preheat your oven, and get ready to enjoy a sweet treat that’s simple yet extraordinary.