Introduction
Molasses cookies have carved out a special place in the hearts and kitchens of home bakers, especially during the fall and winter seasons. Their rich, dark color and distinct aroma evoke cozy memories of family gatherings, festive celebrations, and the warmth of home. Traditionally enjoyed with a cup of hot cider or tea, these delightful cookies are a staple in many households, transcending generations. The classic molasses cookie is often characterized by its tender, chewy texture, and a flavor profile that strikes a perfect balance between sweetness and spice.
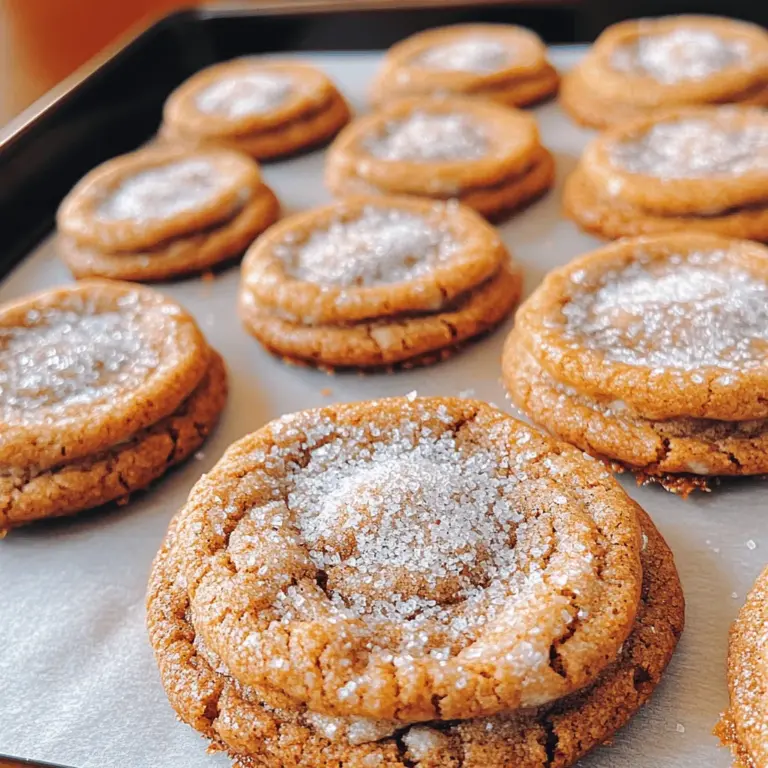
Today, we introduce you to a unique twist on this timeless treat: Spicy & Sweet Chewy Molasses Cookies. These cookies elevate the traditional recipe by infusing a delightful kick of spice that complements the inherent sweetness of molasses. The combination of warm spices like cinnamon, ginger, and cloves, paired with a hint of cayenne pepper, creates a complex and satisfying flavor that will captivate your taste buds. This recipe is not just about baking cookies; it’s about creating a sensory experience that brings joy to your kitchen and invites warmth into your home.
In this article, we aim to guide you through the process of making these Spicy & Sweet Chewy Molasses Cookies from scratch. Whether you are an experienced baker or a novice in the kitchen, our detailed instructions will ensure you achieve perfect results every time. Get ready to embark on a baking adventure that celebrates the rich flavors and textures of molasses cookies, while also introducing an exciting twist!
The Allure of Molasses Cookies
The use of molasses in baking dates back centuries, with its origins rooted in the Caribbean sugarcane plantations during the 17th century. As sugar production evolved, molasses became a common sweetener in various recipes, particularly in the United States, where it is often associated with traditional holiday baking. The thick, viscous syrup is a byproduct of sugar extraction, and its deep, rich flavor makes it an exceptional ingredient in cookies, cakes, and breads.
Beyond its historical significance, molasses is also celebrated for its nutritional benefits. This natural sweetener is rich in essential minerals such as iron, calcium, magnesium, and potassium, making it a healthier alternative to refined sugars. When used in cookies, molasses not only enhances flavor but also contributes to moisture retention, resulting in soft and chewy treats that stay fresh longer.
The texture of chewy cookies is another aspect that draws bakers to this recipe. When properly baked, these molasses cookies achieve a perfect balance of crisp edges and a soft, gooey center. The combination of baking soda and the acidity of molasses creates a leavening effect that helps the cookies rise while maintaining their chewy characteristics. This delightful texture, paired with the unique flavor profile, makes Spicy & Sweet Chewy Molasses Cookies an irresistible treat for any occasion.
Ingredients Breakdown
For our Spicy & Sweet Chewy Molasses Cookies, we will be using a selection of carefully chosen ingredients, each contributing to the overall flavor, texture, and nutritional value of the cookies. Here’s a detailed breakdown of each ingredient and its role in this delicious recipe:
– Unsulfured Molasses: The star of the show, unsulfured molasses is derived from ripe sugarcane and is devoid of any preservatives. Its thick consistency and deep flavor are essential for achieving the rich taste and moisture that molasses cookies are known for. Additionally, unsulfured molasses is packed with antioxidants and minerals, making it a healthier choice in baking.
– Unsalted Butter: Butter plays a crucial role in the texture and richness of baked goods. In this recipe, unsalted butter provides the necessary fat that helps create a tender crumb. Using unsalted butter allows you to better control the salt content in the cookies, ensuring a well-balanced flavor.
– Brown Sugar: Brown sugar not only adds sweetness but also enhances the depth of flavor in the cookies. Its higher moisture content compared to granulated sugar helps keep the cookies soft and chewy. The caramel notes of brown sugar complement the dark molasses, creating a harmonious blend of flavors.
– Eggs: Eggs serve multiple purposes in cookie recipes. They act as a binding agent, helping to hold the ingredients together, while also providing leavening properties that contribute to the cookie’s rise. Additionally, eggs add richness and moisture, enhancing the overall taste and texture of the cookies.
– All-Purpose Flour: The foundation of any cookie recipe, all-purpose flour provides structure and stability. In this recipe, the flour balances the wet ingredients, allowing the cookies to hold their shape while maintaining a soft texture.
– Baking Soda: As a leavening agent, baking soda is essential for creating the desired lift in the cookies. When combined with the acidity of molasses, it produces carbon dioxide, which helps the cookies rise and become light and chewy.
– Spices (Cinnamon, Ginger, Cloves, Cayenne Pepper): The blend of spices is what sets these cookies apart from traditional molasses cookies. Cinnamon adds warmth and sweetness, ginger brings a zesty kick, cloves provide depth, and cayenne pepper introduces a surprising heat that enhances the overall flavor profile. This combination creates a complex and satisfying experience with every bite.
– Salt: While it may seem counterintuitive, salt is crucial in baking. It balances the sweetness of the sugars and enhances the overall flavors of the cookies. A pinch of salt can elevate the taste, making every ingredient shine.
– Optional Nuts: For those who enjoy added texture, incorporating nuts such as walnuts or pecans can provide a delightful crunch. Nuts also contribute healthy fats and protein, making the cookies even more satisfying.
Step-by-Step Instructions
Before diving into the baking process, it’s essential to prepare your kitchen and gather all the necessary ingredients. To ensure the best results, we’ll start with the first step: preheating the oven.
Preheating the Oven
The importance of temperature control in baking cannot be overstated. Preheating your oven to the correct temperature is crucial for ensuring even baking and achieving the desired texture of your cookies. For our Spicy & Sweet Chewy Molasses Cookies, we recommend preheating your oven to 350°F (175°C). This temperature allows the cookies to bake thoroughly while developing a lovely golden-brown exterior.
As your oven heats up, take this time to assemble your ingredients and tools. You’ll need mixing bowls, measuring cups, a whisk, a spatula, and a baking sheet lined with parchment paper. Having everything ready will streamline the process and make your baking experience more enjoyable.
Once your oven has reached the desired temperature, you’ll be ready to proceed with mixing the ingredients and creating your Spicy & Sweet Chewy Molasses Cookies. Stay tuned for the next section, where we will walk you through the detailed steps of combining these flavorful ingredients into a delicious batter!
Mixing Wet Ingredients: Techniques for Achieving the Perfect Creaminess
To create the ideal texture for your Spicy & Sweet Chewy Molasses Cookies, achieving the perfect creaminess in your wet ingredients is crucial. Start by softening your unsalted butter to room temperature. This allows the butter to blend seamlessly with the sugar, creating a light and airy mixture. Use a stand mixer or a hand mixer on medium speed to cream the butter and brown sugar together until the mixture is light in color and fluffy—this should take about 3-5 minutes.
Next, add the molasses to the mixture. Molasses is not only the star ingredient that gives these cookies their distinctive flavor, but it also adds moisture to the batter. Mix until fully combined. The key here is to ensure that the dark, sticky molasses and the creamy butter blend into a smooth, homogenous mixture. If you find that the molasses clings to the sides of the bowl, scrape down the sides with a spatula to ensure everything is well incorporated.
Incorporating the Egg: Ensuring Proper Blending for Texture
Once your butter and sugar mixture is creamy, it’s time to incorporate the egg. Using one large egg at room temperature is ideal, as it emulsifies better, resulting in a smoother batter. Crack the egg into a small bowl first to avoid any shell pieces, then add it to the creamed mixture. Beat the egg into the dough until fully blended. This step is crucial for the overall texture of the cookies; a well-mixed egg ensures that your cookies rise properly during baking and that they maintain a chewy consistency.
For added depth of flavor, consider adding a splash of vanilla extract at this stage. This not only enhances the taste but also contributes to the overall aroma of your freshly baked cookies.
Combining Dry Ingredients: Tips for Avoiding Clumps and Ensuring Even Distribution of Spices
Now, it’s time to prepare the dry ingredients. In a separate bowl, whisk together your flour, baking soda, salt, and spices—typically ground ginger, cinnamon, and a pinch of cayenne pepper for that spicy kick. Whisking the dry ingredients together helps to aerate the flour and distribute the leavening agent (baking soda), ensuring even rising during baking.
When you combine the dry ingredients with the wet mixture, do it gradually. Add the dry mixture in three separate additions, mixing on low speed to avoid overmixing, which can lead to tough cookies. Stop mixing as soon as the dry ingredients are just incorporated; a few flour streaks are okay. This technique helps prevent clumping and ensures that spices are evenly distributed throughout the dough.
Chilling the Dough: Benefits of Resting Dough for Flavor and Texture
After mixing, it’s essential to chill the dough. Form the dough into a disk, wrap it in plastic wrap, and refrigerate for at least 30 minutes to an hour. Chilling the dough not only makes it easier to handle when shaping but also enhances the flavor as the spices meld together, creating a more robust taste. Additionally, this resting period allows the flour to fully absorb the moisture, which contributes to the chewy texture of the final cookies.
Chilling the dough also helps prevent the cookies from spreading too much during baking, maintaining their shape and thickness. If you have more time, consider chilling the dough overnight for even better results.
Shaping Cookies: Methods for Consistent Sizing and Presentation
Once the dough has chilled, it’s time to shape your cookies. Use a cookie scoop or a tablespoon to portion out the dough. This ensures uniform sizing, resulting in cookies that bake evenly. Roll each portion into a ball between your palms, then slightly flatten them on a baking sheet lined with parchment paper. Leaving some height is important; the cookies will spread slightly in the oven.
For an appealing presentation, you can roll the dough balls in sugar before placing them on the baking sheet. This adds a delightful sparkle and a touch of sweetness to the surface of the cookies.
Baking Process: Understanding Cookie Doneness and Texture Cues
Preheat your oven to 350°F (175°C) while you shape the cookies. Bake the cookies for about 8-10 minutes, depending on your oven. Keep a close eye on them; you want the edges to look set and slightly firm while the centers remain soft and puffy. The cookies will continue to cook as they cool on the baking sheet.
For the perfect texture, remove the cookies when they are just barely golden around the edges. They should look slightly underbaked in the center, as they will firm up upon cooling, achieving the desired chewy consistency.
Cooling Methods: Importance of Cooling to Achieve Desired Chewiness
Once out of the oven, let the cookies cool on the baking sheet for about 5 minutes. This allows them to set before transferring them to a wire rack. Cooling them on a wire rack is essential for maintaining the chewiness; it allows air to circulate around the cookies, preventing them from becoming soggy on the bottom.
If you prefer a slightly crispier cookie, you can leave them on the baking sheet for a few extra minutes. Remember, the texture will vary based on how long you allow them to cool and the baking time.
Flavor Profile and Texture of Spicy & Sweet Chewy Molasses Cookies
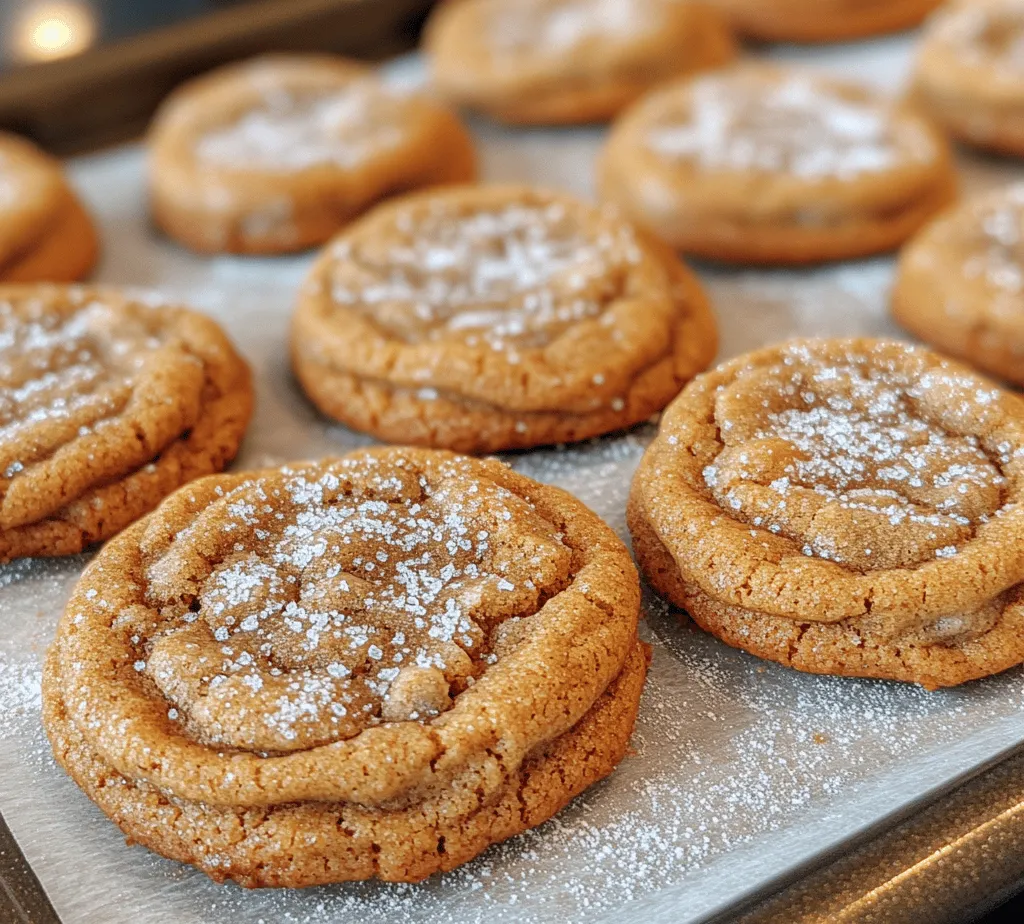
The flavor profile of Spicy & Sweet Chewy Molasses Cookies is a delightful balance between the deep sweetness of molasses and the warmth of spices. The ginger and cinnamon provide a comforting warmth while the cayenne pepper adds a surprising kick that elevates the overall taste experience. This combination makes these cookies perfect for the fall and winter seasons but enjoyable any time of year.
Texture-wise, these cookies are chewy with a slightly crisp exterior. The baking time is crucial; shorter baking times yield chewier cookies, while longer times produce a firmer texture. The molasses contributes to the moistness, creating a cookie that is both satisfying and indulgent.
Pair these cookies with a hot cup of tea, coffee, or even a glass of milk for a comforting treat. They also make a great snack alongside a warm bowl of oatmeal or yogurt, enhancing your breakfast or afternoon snack experience.
Variations and Customizations
One of the great things about molasses cookies is their versatility. For those looking to experiment, consider altering the spice blend. You might try adding ground cloves or nutmeg for a different flavor profile or even adding a touch of cardamom for an exotic twist.
If you’re accommodating dietary restrictions, gluten-free flour blends work well in this recipe, ensuring everyone can enjoy them. For a vegan adaptation, substitute the egg with a flax egg (1 tablespoon of ground flaxseed mixed with 2.5 tablespoons of water), and use coconut oil or a vegan butter substitute in place of regular butter.
Additionally, mix-ins like chocolate chips, dried cranberries, or walnuts can add exciting flavors and textures to the cookies. Each variation can create a new favorite, making these cookies a staple for any occasion.
Storage and Shelf Life
To maintain the freshness of your Spicy & Sweet Chewy Molasses Cookies, store them in an airtight container at room temperature. They will stay fresh for about a week, but they’re best enjoyed within the first few days when they are at their chewiest.
If you’d like to enjoy your cookies later, consider freezing them. You can freeze the shaped dough balls before baking; simply place them on a baking sheet to freeze until solid, then transfer them to a freezer bag. When you’re ready to bake, there’s no need to thaw; just add a minute or two to the baking time. You can also freeze baked cookies; just ensure they are completely cooled before placing them in a container. They will last for up to three months in the freezer.
Conclusion
Making Spicy & Sweet Chewy Molasses Cookies is not just about following a recipe; it’s about creating a delightful experience in your kitchen. The combination of sweet molasses and warming spices fills your home with an irresistible aroma, inviting everyone to join in the joy of baking.
These cookies also serve as a wonderful addition to family traditions, holiday celebrations, or simply as a treat to enjoy on a cozy afternoon. Their versatility allows for experimentation, making each batch unique and exciting.
So gather your ingredients, follow the steps outlined, and immerse yourself in the delightful world of homemade cookies. Enjoy the process, savor the flavors, and share the joy of your Spicy & Sweet Chewy Molasses Cookies with friends and family. Happy baking!
